The 10 Best Online Course Creators for 2024
Matthew Turner
Updated by Tara Malone
If you’re building an online course, it’s easy to feel totally overwhelmed by the sheer number of online course creators and platforms out there.
After all, there are countless platforms you can use to create, host, and deliver your online course, and it’s hard to know which one is best for your course.
We understand this dilemma, having worked with thousands of course creators in every industry you can imagine.
And that’s why we’ve created this guide, where we’ll introduce you to the 10 best online course creators and also give you an overview the main steps involved in creating an online course.
After you’ve finished this guide, you’ll come away with a better idea of which platform is right for your course – and the steps involved in creating a winning online course.
The Top 10 Online Course Creators for 2024
Before we dive into our top 10 online course creators, it’s important to understand that they fall under four main categories.
These categories are:
- Standalone Online Course Platforms
- All-in-One Online Course Platforms
- WordPress Online Course Plugins
- Online Course Marketplaces
A standalone online course platform lets you to build and host your own online course. They typically provide all the tools you need to build an online course as well as sell your course on your own site.
An all-in-one online course platform provides you with the tools you need to develop online courses as well as run an online business. In addition to course-building features, all-in-one platforms often include web content management tools, as well as marketing, sales, and customer service tools. For those seeking more tailored solutions, exploring custom LMS development could be a strategic choice.
A WordPress online course plugin is a type of online course software that you install on your existing WordPress site. These plugins are a good option if you want to host your course on your own WordPress site and have complete control over your online course.
Finally, an online course marketplace is a web-based online course platforms where you can easily build your course and promote it to an established audience. The downside to this is that you have less freedom to control your course compared with the other three options, and instead need to follow their templates, guidelines, and rules.
As we share the following online course creators, keep these four main types in mind.
1. THINKIFIC
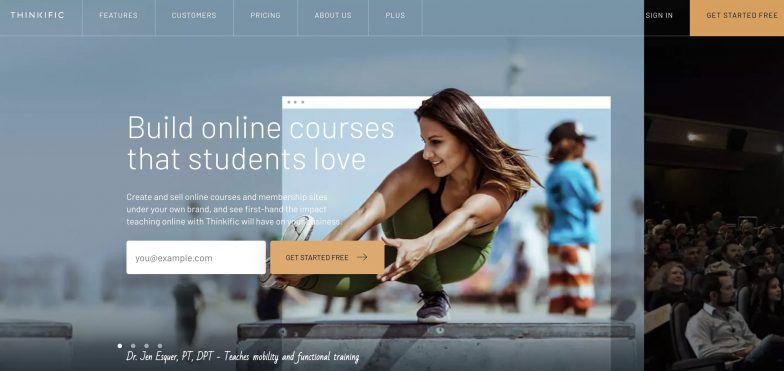
Thinkific provides one of the most robust online course hosting options in the marketplace. They provide many user-friendly features when creating your course, as well as:
- Email marketing tools
- Membership site integration
- Excellent 24/7 customer support
- Course bundle options
Thinkific is a standalone online course platform, meaning you self-host your course and have no existing marketplace to promote it to.
PROS:
- Lots of engagement-based features, such as the ability to create learning communities.
- Well-known for great customer service.
- Friendly user interface.
- Integrations with some of the web’s most popular tools.
- The freedom to price your course as you wish.
CONS:
- Little or no help in promoting your course.
- Transaction fees on top of your monthly subscription.
Additional Reading
- Kajabi vs. Thinkific: Which Should You Choose?
- Thinkific vs. Teachable: The Complete Course Builder’s Comparison
- Thinkific Review: An All-in-One Learning Management System
- How to Create and Sell Online Courses: The Step-By-Step Guide
2. TEACHABLE
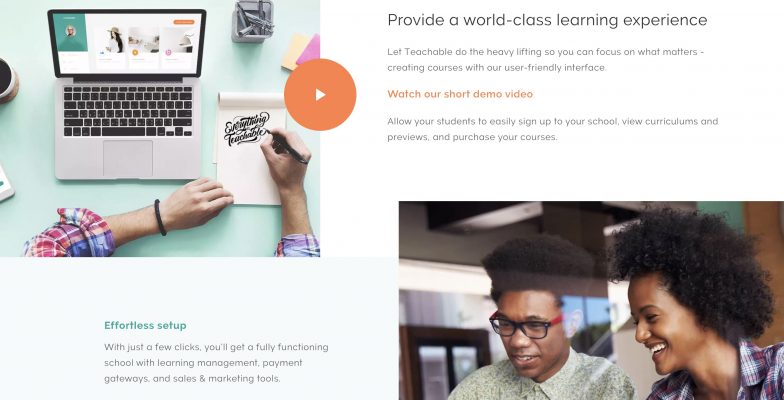
Similar to Thinkific, Teachable offers you an array of features to build your online course. Again, this is a standalone online course platform, meaning there’s no marketplace to promote your course to.
This is a very user-friendly option, perfect for those getting started.
It has lots of features (and really, everything you need), but not so much that it feels overwhelming.
PROS:
- No coding experience necessary with their template-based website builder.
- No video quota (perfect if you want to create a video-based course).
- You can connect your course to your website or build a new landing page through Teachable.
- Group your courses into “branded schools” based on similar topics and categories.
CONS:
- The text editor can be a little buggy and temperamental at times.
- There’s a 30-day payout delay when you’re on their basic plan.
- Little to no marketing support.
Additional Reading
- Kajabi vs. Teachable: The Ultimate Side-by-Side Comparison
- Teachable Review: A Simple, Easy-to-Use Learning Management System
- Thinkific vs. Teachable: The Complete Course Builder’s Comparison
- Teachable vs. Udemy: Which One is Best for Your Online Course?
- Teachable Pricing: What’s the Right Plan for You?
3. RUZUKU — Best for Engagement-Focused Course Creators
Ruzuku takes a different approach from most platforms on this list. Instead of trying to be an all-in-one marketing suite, it focuses on what happens after someone enrolls — the actual learning experience.
The platform uses a step-by-step course structure where each lesson includes built-in discussion and activities. Students move through material in sequence rather than browsing a content library. This design is based on learning science research (the platform was built by Abe Crystal, PhD, a learning design researcher who co-hosts Mirasee’s Course Lab podcast).
PROS:
- Zero transaction fees on all plans — you pay a flat monthly rate and keep 100% of course revenue (minus standard Stripe/PayPal processing)
- Unlimited students and unlimited courses on all paid plans
- Built-in discussion at every step — not a separate forum bolted on
- Three course formats: live (scheduled), on-demand (evergreen), and open access
- Drip content scheduling (daily, weekly, or custom)
- Private assignments with instructor feedback workflow
- Exceptionally responsive customer support (noted in virtually every review)
CONS:
- No built-in sales page builder or marketing funnel tools
- Fewer third-party integrations than Kajabi or Teachable
- No native mobile app for students
- Smaller marketplace/discovery ecosystem than Udemy or Skillshare
Pricing: Free plan available. Core plan at $99/month ($997/year). Pro plan at $199/month ($1,997/year) with white-label branding, custom domains, certificates, and AI video transcription. Full pricing details.
Best for: Coaches, consultants, and subject-matter experts who want high student engagement and completion — especially those running cohort courses, live workshops, or group coaching programs. If your priority is student transformation (not just content access), Ruzuku is built for that.
See real courses built on Ruzuku →
Additional Reading
4. KAJABI
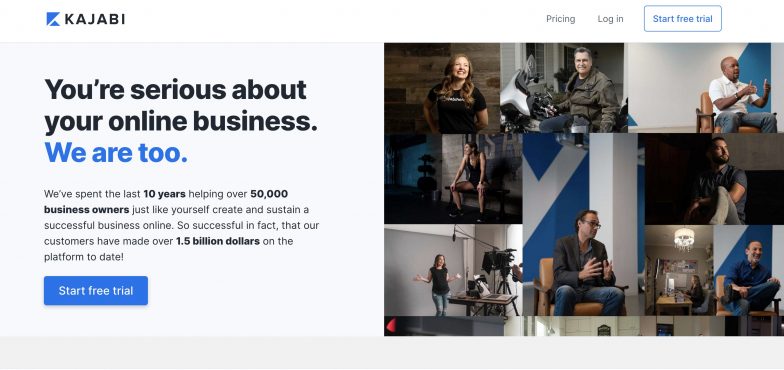
Kajabi says it’s “the one system you need to market, sell, and deliver your knowledge online.” As this suggests, it provides one of the more in-depth course builders.
Unlike the previous platforms, Kajabi is an all-in-one online course platform, and is specifically designed for in-depth courses and for online course entrepreneurs with larger teams.
PROS:
- A true all-in-one solution.
- There is a Free Trial available.
- Sophisticated course-builder.
- Huge integration potential.
- Offers a mobile app for students on the go
CONS:
- It’s expensive, with the Basic plan starting at $149/month.
- A lot of what they offer is overkill for most course creators.
- There are A LOT of features (it can quickly get overwhelming).
Additional Reading
- Kajabi vs. Thinkific: Which Should You Choose?
- Kajabi Review : A Professional Option That’s Both Simple and Elegant
- Kajabi vs. Teachable: The Ultimate Side-by-Side Comparison
5. SKILLSHARE
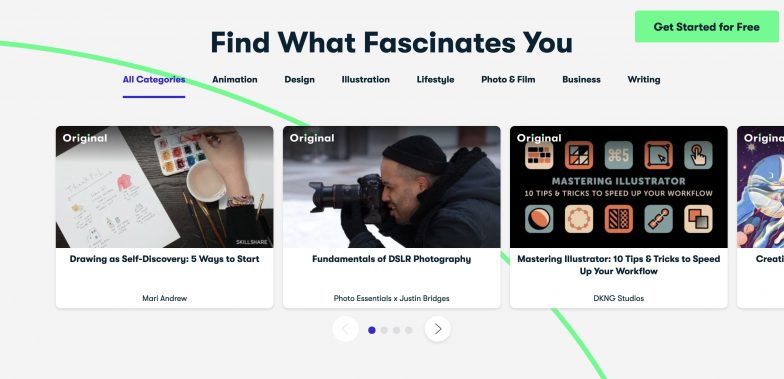
Skillshare gives you access to a very large marketplace of artistic types seeking creative education. When you use a marketplace like Skillshare, you have less freedom when creating your course. However, you do get marketing support and access to an already loyal and engaged community of creatives.
PROS:
- Huge focus on video production and video-based courses.
- A perfect platform for those who wish to share quick tips and lessons.
- An easy way to earn a passive income without much time commitment.
- Access to an engaged and loyal community.
- It provides a built-in marketplace with millions of students.
CONS:
- You don’t earn money until 25 students have enrolled in your class(es).
- You get NO access to your students’ details such as their email or mailing addresses.
- Limited features (no access to quizzes or lead forms).
- Limited freedom to promote, price, and brand your course.
Additional Reading
- Skillshare vs. Udemy: Which One Is Best For Your Business?
- Ultimate Skillshare Review (Is Skillshare Worth Your Time And Money?)
6. UDEMY
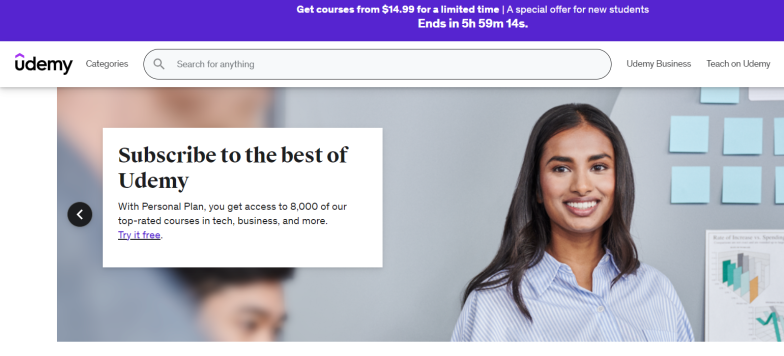
Udemy is one of the biggest online course platforms: with 62+ million students, 74,000+ instructors, and an unbelievable 210,000+ courses! Like Skillshare, it’s free to become an instructor and create as many courses as you like. There are a lot more categories on Udemy, too, making it more accessible to more course creators.
PROS:
- Access to a HUGE community of students.
- A very simple platform to use (create your course in under an hour).
- A community renowned for leaving reviews (great for social proof).
- A wide range of categories, catering to almost any course creator.
CONS:
- Udemy gets 50% of each sale that doesn’t come via your affiliate link.
- Due to the sheer size of the community, it’s difficult to stand out.
- There’s a video quota that requires at least 30 minutes of video (or 60% of your course must consist of video).
- No access to student emails or other details.
- Most courses on Udemy are under $100 (and often heavily discounted). As such, you have little freedom on pricing.
Additional Reading
- The Ultimate Udemy Review: Is It Right for Your Online Course?
- Skillshare vs. Udemy: Which One Is Best For Your Business?
- Review of Udemy: Is Udemy Good? (+Top Rated Courses)
7. LEARNWORLDS
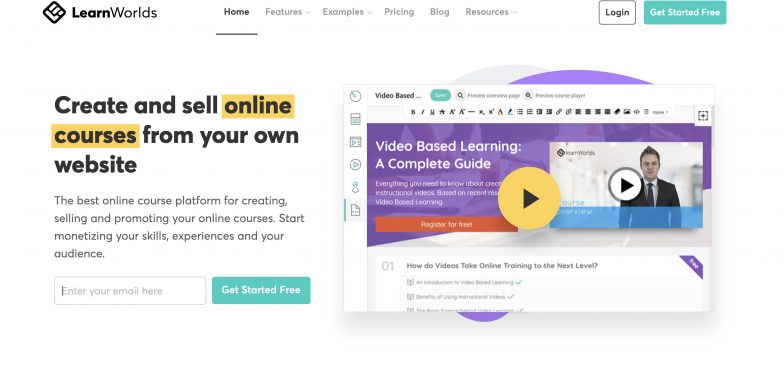
Although Learnworlds doesn’t offer quite as many features as Kajabi, it does provide an all-in-one solution that focuses heavily on the user experience. From its intuitive course builder to its landing page software, Learnworlds offers A LOT for the price you pay.
PROS:
- Amazing student-focused features.
- Very affordable.
- Advanced analytics.
- Customizable branding, domain, and other marketing features.
- Great landing page builder with lots of templates.
CONS:
- $5 fee per sale when on the Starter plan.
- Limited integrations with other tools.
- No marketplace, and no marketing support.
Additional Reading
8. LEARNDASH
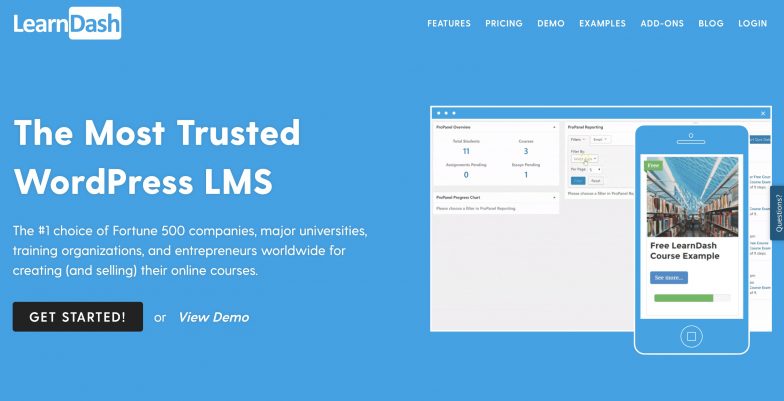
LearnDash is a WordPress plugin, connecting directly to your site. It’s used by some large companies, including Infusionsoft, Yoast, and WP Elevation. A plugin like this isn’t ideal for all course creators, but it is an attractive online course hosting option for many. If you want to keep everything on your own site, this is likely the online course platform you need.
PROS:
- Very affordable option.
- The complete freedom to create your course on your own terms.
- Gradebook Technology to improve student engagement.
CONS:
- No Free Trial (though there is a 15-day money-back guarantee).
- Everything is hosted on your site, so maintenance costs can add up.
- And, because everything is hosted on your site, LearnDash provides limited support.
Additional Reading
- LearnDash Review: Does It Deliver the Best in Online Course Creation?
- LearnDash Review – Creating Your Online Course in WordPress
9. PATHWRIGHT
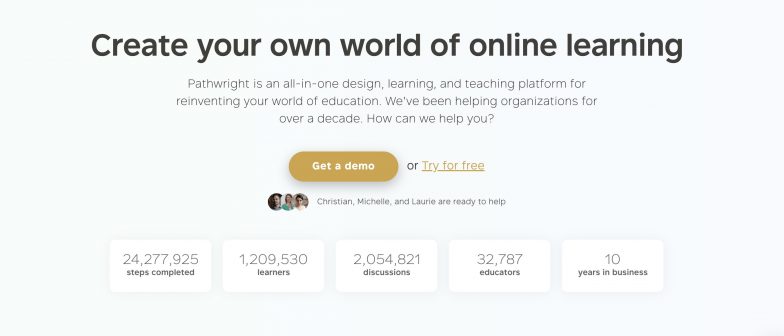
Pathwright focuses on creating a seamless learning experience that immerses both the teacher and the student. Instead of simply focusing on course creation, Pathwright takes the entire eLearning experience into consideration. It’s one of the better online course creators on this list for those who wish to go ‘deep’ with their students.
PROS:
- Great community features.
- Renowned support that serves both teachers and students.
- Integrations with 1,000+ apps, tools, and services.
CONS:
- A limit of 1,000 students on the basic plan.
- No free plan, though there is a free trial.
Additional Reading
10. PODIA
Podia is another all-in-one course builder that gives you everything you need to create, promote, and sell your course online. It’s also fully customizable, perfect for those who wish to brand their course and have complete control over what it looks like.
PROS:
- The ability to sell other products, as well as online courses.
- Customizable storefront, landing pages, and courses.
- Instant payout!
- Built-in email marketing.
- The ability to drip your course to students over time.
- The option to build Membership Communities (and offer specific products to each).
CONS:
- There is a processing fee on top of your monthly subscription.
- Mo marketplace, no marketing support.
Additional Reading
Let’s Start Building Your Online Course!
In our FREE Hybrid Courses Bootcamp, we’ll walk you through how to transform your knowledge and expertise into a profitable online course… one your students will love.
How to Create and Sell Online Courses
Choosing an online course builder is only part of the process. There’s a lot more that goes into creating a successful online course, and over time we’ve honed in on the process that creates the best and most consistent results.
Here’s a high-level overview of the process we recommend.
1) Choose a Profitable Topic
Your first step is to choose a topic that creates a Win-Win for both you and your students.
As a course creator, your topic needs to serve YOU, so ask yourself if the topic:
- Is a subject you’re passionate about.
- Is based on something you have experience in.
- Has a large enough audience/niche to be profitable.
If it doesn’t tick these three core boxes, you’ll either lose interest, not provide enough value, or simply not make enough money. So choosing a topic that serves you is important.
However, this isn’t about all you!
You must also choose a topic that genuinely helps your audience.
- What’s their greatest pain?
- What do they need the most help with right now?
- What does the solution they need look like?
- How can you offer this solution in the most efficient and effective way?
Choosing a topic that serves both you and your students is the all-important first step many people overlook. Choosing the right one is crucial to set yourself up for success.
2) Do Your Research!!
This is another step far too many course creators overlook.
There are a few key areas to consider when researching your online course idea:
- Demand (is there enough of it?)
- Customer Profile (who is your main avatar?)
- Define The Problem (what problem will your course solve?)
To begin with, you must learn whether your chosen topic produces enough demand. This isn’t an exact science, but you can gauge demand and interest through:
- Google (search your course topics and see what appears)
- YouTube (search for videos on your course topic and note how many views they get)
- Facebook and/or LinkedIn Groups (are there any groups on your course topic?)
- Subreddits (do people talk about your topic on Reddit?)
- Quora (are people asking questions about your topic on Quora?)
- BuzzSumo (are people writing articles on your topic? If so, how popular are they?)
- Udemy (do courses on this topic already exist? If so, how many…how popular are they?)
Once you’ve researched a profitable topic, it’s time to focus on your Customer.
We’ve written a separate guide on how to create your customer profile. I encourage you to read this guide in full to create the perfect customer avatar for your course. It’s a vital step many people skip. Yet it’s possibly the most important one in terms of creating a course that has a high impact on your students.
Finally…it’s important to define the problem you’re solving.
Your course may help your student in many ways. It may help solve several problems. But all great courses ensure they go deep into solving one big issue.
Before you start creating your course, you need to hone in on what this is.
This is why creating a Customer Profile is important. Until you know who they are, it’s difficult to appreciate their biggest problem. Once you do, you can identify the transformation they need to take.
3) Create Your Goals
At this stage, you’ve honed in on a profitable course topic and you know who it’s for and how it will help them. But before you start planning and structuring your course, you need to bring focus back to you.
What is it that you actually want to achieve?
You need a vision, goals, and objectives so you can measure your success.
You need to know where you are going if you’re to have any hope of getting there!
Now is the time to create these goals.
There are a few types to consider:
- Revenue Goals
- Reach Goals
- Customer Goals
Your Revenue Goals are obviously an important part of the process. If you’re to commit so much time, money, and resources to building your course, you need to make it worth your while. Setting clear revenue goals helps you price your course later in the process.
You’ll also want to consider some Reach Goals, which take into account traffic, subscribers, followers, and conversion rates.
Finally, you need to take into account your Customer Goals. Part of this includes your learning outcomes, which we discuss next. But you also have to consider how you can measure your student success…
- What does student success look like for you?
- What impact would you like to have on your students?
- How can you measure this on a weekly, monthly, or quarterly basis?
Talking the time to set clear goals now makes the rest of the process easier.
4) Plan and Structure Your Course
Let’s Start Building Your Online Course!
In our FREE Hybrid Courses Bootcamp, we’ll walk you through how to transform your knowledge and expertise into a profitable online course… one your students will love.The time has come to start planning your course.
At this stage, you don’t need to worry about scripting videos or recording them.
However, you do need to get clear on what your course will look like (lesson-by-lesson).
A good way to begin this process is to make a list of all your ideas. Either in a blank document or notebook, simply write a list of any ideas that might become a lesson in your course.
Once you have a list of ideas, it’s time to start narrowing things down.
Think about how long your course will be, and which lessons should come at the beginning, middle, and end. This will help you form a clear image of what your course will look like.
- What does your introduction look like?
- What lessons will come at the beginning of your course?
- Which ones should come at the end of your course?
- How does your entire course flow from one lesson to the next?
This is an important step you cannot overlook. If you do, you run the risk of building a course that doesn’t flow. Worse, you’ll waste a lot of time creating material you do not need, and more of it as you realize you missed a few vital pieces along the way.
So, for each individual lesson, make a note of:
- WHY this lesson is important
- WHAT this lesson involves
- HOW this lesson helps (and works)
- The specific action steps involved
Less is more at this stage. Your aim here is to provide enough detail to help you create each individual lesson later, and to build some specific Learning Outcomes.
5) Validate Your Course
You’re now ready to create your course content, record the videos, and edit the audio.
However, just because you have all you need to do this doesn’t mean you should.
At this stage, you’ve likely invested at least 5 to 6 hours into the process. Before you invest any more of your time (and money), you need to know that people will buy your course.
It’s time to validate your idea!
It’s a simple process:
- Build a sales page for your course that explains who it’s for, why they need it, and what the core process/method is…
- Drive your ideal customer profile to this page and encourage them to pre-order, leave a deposit, or sign up for a waiting list…
- Collect and analyze the data.
Your Sales Page does not have to be perfect at this stage. The point is to create a simple page that:
- Has a clear message about what your course is about and who it’s for.
- Explains the key learning outcomes, lessons, and steps involved.
- Provides a VERY clear call to action
- Offers a few visuals to make everything look more professional.
Once your page is ready, you need to get it in front of your ideal customer profile by driving ads toward it, creating organic social media messages, and using your existing email marketing lists. From here, you need to gauge whether there’s enough demand for you to carry on.
This is a subjective part of the process and depends on your audience and industry, but a few standard measurables you may like to consider are:
- 100 True Fans (if you can validate your course with 100 paid customers, you’ll likely do fine further down the line)
- 5% Conversion Rate (if you achieve this — especially with a cold audience — you have a topic that captures your audience’s attention)
- Feedback (this is more subjective, but take note of EVERY question and piece of feedback you receive: email, Facebook ad comments, phone calls…everything!)
Only you can decide what success looks like for you and your course.
6) Choose Your Course Format
You’re nearly ready to create your course content, but first you need to understand what sort of online course you want to create.
There are six types:
- MASTERCLASSES: This is the most common type of online course, delivered by an expert so students can watch, listen, and learn. The expert records lessons that students can review in their own time later.
- COACHING: This often includes aspects of a Masterclass Course but goes further by including more personal touchpoints from the expert.
- MOOC (Massive Open Online Course): These often include many aspects of Masterclasses and Coaching Courses, but the focus here is on mass learning and community engagement.
- CORPORATE TRAINING: This is where you deliver a course to a specific business or team of employees.
- MINI COURSE: A short course that takes two hours or less to complete.
- ACADEMY & SOFTWARE ONBOARDING: Used by businesses to onboard a new customer or client, it often includes demos and Q&As as well as interactive quizzes, lessons, and surveys where the tool/software in question is used.
Your online course may involve two or more of these. This is fine. All that matters is that you are clear on what you’re building so you can create the best possible content.
7) Create Your Content
This is the part you’ve been waiting for; the reason you want to create online courses in the first place.
Before you can start writing your scripts and recording your videos, you need to consider two aspects:
- What type of content you will create (video, audio, slide decks…)
- Where you will get your material from (past experience, stories, research…)
Assuming you’re experienced in your topic, you’ll likely already have some material based on the work you’ve done. This is a good place to start, so do an audit of all your previous articles, videos, workshops, processes, leaflets, copy, and anything else you can repurpose into course content.
Once you’ve completed your audit, think about the type of content you would like to create.
More importantly, think about the type of content your students NEED.
- Video: this is almost certainly a given. Online courses need videos. Whether it’s you speaking in front of the camera or a ScreenFlow of your work, visually showing your students how to do something is better than simply telling them about it.
- Audio: oftentimes this is the audio transcription of your videos. Yet some course content may be better suited for audio rather than video. A guided meditation, for instance, or a series of affirmations.
- eBooks or PDF Guides: creating an eBook or PDF Guide helps expand your course, allowing your students to digest some of your material on the go.
- Presentations or Slide Decks: presentations and slide decks are great accompaniments to video because they allow you to visually show your student what’s happening.
- Quizzes: these are a great way to engage your students and “test” their progress. As well as grading how well they’re doing, online quizzes can help you segment your students into different categories and groups.
- Surveys: feedback is always important. Through engaging surveys, you can make gathering feedback part of the course content that provides value to you and your students at the same time.
- Blog Posts or Articles: like eBooks and guides, you can expand your course material with blog posts and articles for your students to read later.
- Interviews or Masterclasses: this is a great way to add further credibility to your course. Rather than have everything come through you, bring outside perspectives and other expert opinions into your course.
- Workbooks: active learning is a key component of any successful course. You not only want to teach your students about a topic, but have them make actual progress.
It’s vital you choose the best content for your students. Think about what they will engage with, and what will help you get your message across. Once you’ve done this, it’s a case of getting to work and creating the material.
8) Price Your Course
How you price your course is one of the most important aspects of this whole process.
The good news is, whatever price you initially come up with isn’t set in stone.
You can raise your price in the future.
You can lower it (either for a sale or permanently).
Your initial aim is to come up with a price that:
- Doesn’t undersell your expertise or the true value of your course.
- Won’t turn early users away while you’re still building testimonials.
How you price your course depends on:
- Your course itself (how in-depth it is)
- Your audience (who they are and what their income is)
- The platform you use (some cater to a lower price bracket)
- The problem you solve (are you solving a $100 or $10,000 problem?)
- YOU and your level of expertise (are you new to your industry or considered an authority?)
In the next step, you will TEST your course with a “first-batch” of students. Part of this testing process centers around your price. So don’t worry about finding your pricing sweet spot the first time around.
But to help get you started, revisit the goals you set in Step 3:
- What are your revenue goals?
- What are your reach goals?
These goals give you something to work with. From here, create a price and test it in the next step.
Let’s Start Building Your Online Course!
In our FREE Hybrid Courses Bootcamp, we’ll walk you through how to transform your knowledge and expertise into a profitable online course… one your students will love.9) Test Your Course
Your course is ready for your students. But is it ready for the masses?
No!
Most products need beta testers to ensure it does what it says it will.
Your online course is no different, so now is the time to TEST it.
The most common way is to create a Beta Group. This initial group of students is by far your most important of all. That’s because they:
- are your initial success stories and case studies.
- provide you testimonials and social proof.
- are the future ambassadors of your brand.
- allow you to test and validate your ideas (and course as a whole).
No matter what course you build and which platform you use, make sure you TEST it with an initial batch of students that get a unique experience.
10) Launch Your Course
Finally, the big day arrives… after potentially months of planning, creating, and testing, you’re ready to launch your online course to the world.
By following this step-by-step guide in full, you’ve set yourself up for success. You’re delivering high value to a specific type of person. You’ve tested your content and gathered an initial batch of student success stories.
Your course is ready.
It’s time to launch it!
Each course launch differs from the next, but in general, there are two main phases:
- Education: this is where you warm up your audience.
- Selling: this is where you invite them to take your course.
The Education Phase:
This phase is all about giving value to your audience. Through email marketing, content marketing, ads, and whatever else… your aim is to provide value to people while simultaneously educating them about:
- Their pain (i.e. the big problem your course solves)
- What life could look like (if they solve this problem)
- The process (i.e. a high-level view of what your core method/process is)
- How to implement it themselves (but why they shouldn’t)
The aim is to give them a lot of value…although not so much that they won’t need you!
This brings us to the most important aspect of the Education Phase…YOU.
As well as educating them about their pain and solution, you must also gain their trust:
- Share your story
- Provide credibility and proof
- Offer stories, examples, and case studies
- Focus on the work you’ve done in the past and the success you’ve had.
You have to assume that those you’re targeting do not know you.
Before you sell to them, you must first earn their trust.
The Selling Phase
Now that you’ve warmed your audience, it’s time to introduce them to your core offer.
This often centers around an email sequence that:
- Details what the course is about and who it is for
- Provides social proof, testimonials, and case studies
- Explains the value of the course and the impact it has
- Paints a clear picture of what the transformation is for the student
- Offers bonuses for those who purchase the course at this stage
For guidance on how to create a high-converting sales sequence like this, read our article: Email Sequence Templates for Building a Loyal Audience.
It’s during this selling phase that you learn the most about your course. No matter how good your launch period is, there’s always room for improvement.
11) Sell, Market, and Promote Your Course
By following this step-by-step guide, you set yourself up for a successful launch.
Yet no launch is perfect.
That’s why, in many ways, this final step is the most important one of all. Your journey has only just begun. Based on what you’ve learned so far, you can now better sell, market, and promote your course in the future.
- Track and measure your goals
- Gather student feedback as often as you can
- Observe student questions and the most common issues
- Better know your students and refine your customer avatar
- Experiment with different marketing techniques and promotions
- Raise your price (or lower it for a short period)
- Get creative and have fun!
We see too many course creators launch their course and assume that’s it.
But your launch doesn’t mark the end. If anything, you’ve only just begun.
Choosing an Online Course Creator: Next Steps
There are many online course creators to choose from, and picking the right one for you and your students is important. But as you have seen in this guide, it only plays a part in the process.
There’s a lot that goes into building a successful online course.
We’ve walked you through the process we teach our students, but an article like this only goes so far. If you’re a coach, this guide to the best online course platforms for coaches can help you narrow the field.
If you want to learn more about the online course creation process, including how to choose the best online course creator for your course, we invite you to enroll in our Free Hybrid Courses Bootcamp to set yourself up for long-term success.
Let’s Start Building Your Online Course!
In our FREE Hybrid Courses Bootcamp, we’ll walk you through how to transform your knowledge and expertise into a profitable online course… one your students will love.about author
Matthew Turner
Matthew Turner is a writer/ghostwriter on a mission to help you escape the hustle — come be part of the [no hustle] movement → nohustle.co.
Read more posts by Matthew Turner