How to Create an Online Course with WordPress
Matthew Turner
Updated by Tara Malone
Should you create an online course with WordPress or use a third-party course builder like Thinkific, Ruzuku, or Teachable?
It may surprise you, but creating an online course on your WordPress site is often the way to go. But this option seems daunting to many course creators.
It usually comes down to the perception that you need to understand coding, be great at building websites, and have a keen eye for design. While these skills can help when building your online course on WordPress, none of them are essential.
That’s because there are WordPress LMS Plugins that do all the hard work for you.
All you have to do is know how to use these plugins (and which one is right for you).
In this article, we’ll give you an overview of how to create an online course in WordPress and share 5 of the best WordPress LMS plugins for building an online course.
How to Create an Online Course in WordPress
To create an online course with WordPress, there are several tools you need and certain steps you should follow. It isn’t a difficult or necessarily long process, but a lot of this depends on the size of your course and how many courses you plan to publish.
Let’s dive in, starting with the website that will house all your content.
Step 1. Set Up Your WordPress Website
If you don’t have a website, or your current site isn’t hosted on WordPress, this is the first step you must take. This in-depth guide by WPBeginner breaks down how to do this in detail.
You can do everything yourself or use a managed hosting service that takes care of most of the steps for you. There are many options and providers to choose from, including RedSwitches, WP Engine, FlyWheel, and BlueHost.
Typically, you’ll pay a monthly fee for these service providers to maintain your site, keep it secure, and ensure it’s fully up to date. You can do this all yourself, in which case you just need to arrange a domain name and hosting provider such as TSO Host, GoDaddy, or Dream Host.
If you already have a WordPress website up and running you don’t need to worry about this step.
But you need to complete this one before you can focus on anything else.
Also keep in mind that as your course grows, your hosting, security, and site speed needs to grow with it. Because of this, we recommend studying managed hosting options as they do remove a lot of stress from your shoulders.
Step 2. Install Your WordPress LMS Plugin
Once you have your website up and running you need to choose your WordPress LMS plugin. We dive into some of the best options toward the end of this guide, so make sure you study each one.
All WordPress LMS plugins offer similar features but are each different in their own way.
Once you choose the best option for you and your students, you need to install the WordPress LMS plugin on your site. It’s often a simple process with step-by-step guides, but to help walk you through each of the main plugins, here are some tutorials you may find valuable.
How To Install The LearnDash WordPress LMS Plugin
Installing The Sensei WordPress LMS Plugin
How To Install The WP Courseware WordPress LMS Plugin
Installing The LearnPress WordPress LMS Plugin
This process often takes minutes, and once complete, you have everything you need to plan and create your online courses.
Step 3. Plan and Create Your Online Course
Now that you have your website, the excitement begins to build. You likely have a good idea about what your course will look like, but before you build your course in WordPress, you must plan and outline it.
We go into detail on how to do this in our article: How to Create An Online Course: A 10-Step Guide
This guide gives you everything you need to plan, create, promote, and sell your course. Each step is as important as the last, yet it’s the Planning stage that arguably keeps everything else intact.
So, do you have a detailed plan and outline for your course?
Not just your lesson plans… but also your customer profile, goals, and pricing strategy?
Now is the time to get crystal clear on all this.
The planning stage includes several steps, including:
- Choosing a Profitable Topic
- Doing Your Research
- Creating Your Goals
- Planning and Structuring Your Course Content
- Validating Your Course
- Finalizing your Course Format
- And Finally… Creating Your Course Content
Don’t rush this process, but take your time and lay the foundations for true online course success.
Step 4. Add Your Lessons and Course Material
How long the planning and creation process takes depends on the size of your course. It may take a matter of hours or many months. It really depends on your topic, the problem you’re solving, and who you are solving it for.
Whatever this does involve, we recommend you create your content using something like Google Docs (and the other tools in Google Drive). Don’t create your content directly in your WordPress LMS Plugin.
Why? Peace of mind, above everything else.
It’s important to have a separate copy of your content. Not only to cover you if something goes wrong with the plugin but also so you can easily add your course material to other platforms in the future.
Create as much of your course content outside of your plugin as possible. Import it once it’s complete. It may add a few minutes to your process, but in our experience, it’s well worth the investment.
When you’re ready, this is how to import your lessons and other course material:
How To Add Content To The LearnDash WordPress LMS Plugin
Adding Content To The WP Courseware WordPress LMS Plugin
How To Add Content To The LearnPress WordPress LMS Plugin
How long this takes once again depends on the size of your course. Importing your core course material is usually the easy part. Your lessons likely include a video, audio, text transcription, and possibly a PDF workbook or two.
It’s the other ‘interactive’ elements that can take more of your time, but it’s these interactive and engaging elements that can make all the difference to your end result.
Step 5. Make Your Course Interactive and Engaging
It’s no longer enough to create an online course that only talks “at” your students.
You need to engage them, involve them, and create a conversation.
There are several ways you can do this:
- Online quizzes
- Surveys
- Forums
- Facebook Groups
- A Membership Site
Quizzes, in particular, are a great way to engage your students and create a sense of competition for your courses. Not only will your students compete against themselves (tracking and visualizing their progress), but they’ll compete against one another.
This in itself is one of the most engaging and interactive things you can achieve as a course creator.
Most WordPress LMS Plugins allow you to add quizzes and surveys to your courses. They’ve become a staple in the online course world and are truly something you need to think about if you wish to create a course that captures your students’ attention.
It isn’t enough to teach them. They need to do more than learn.
They have to take action, and it’s your job to ensure they do (and can) do this.
Where possible, make your course interactive and engaging. Think about how you can incorporate quizzes and surveys to turn a one-way lecture into a two-way conversation.
Step 6. Create Certificates and Awards for Your Students
Another way to make your course more interactive and engaging is to create awards and certificates for your students. When they complete certain modules, reward them. Give them a badge of honor to share.
Many WordPress LMS plugins like LearnDash allow you to upload certificates like these when your students make progress. You can download certificates online or create your own via Canva.
Certificates and awards like these add a sense of gamification to your courses. One of the best examples of this comes from the Nerd Fitness community, which uses badges, quests, and challenges to fuel engagement.
Remember, it isn’t enough to simply “teach” your students.
They need to take action. Yet they have so many other things to do.
Using challenges and quests to spark engagement, and then awards, badges, and certificates to reward their progress can redefine your students’ entire experience with you. The most successful course creators we work with strive to do more than teach.
It’s about creating a conversation, ensuring your students make the most progress they can.
Step 7. Test Your Online Course
You’ve now completed your course material, added interactive and engaging elements, and created certificates to reward your students for their progress.
Your course is ready, but is it ready for the masses? Not yet!
Most products need beta testers to ensure it does what it says it will. Your online course is no different.
Now is the time to test it.
The most common way is to create a Beta Group of students where you can:
- Gather their feedback.
- Test your ideas and tweak your goals.
- Work with them one-on-one so you can better understand their pain/problem.
- Observe the questions they ask and the actual actions they take.
- Create a series of testimonials (and build greater social proof).
You’ll often do this by offering your Beta Students a unique price/offer that nobody else in the future will get. You’ll work with them in a more one-to-one manner, not only providing them greater value… but so you can observe their questions, feedback, and what they actually do with your course.
No matter what course you build and which platform you use, make sure you test it with an initial batch of students that get a unique experience.
Step 8. Promote and Sell Your Course
The final step is to promote and sell your online course.
We cover this process in detail inside our guide: How to Sell Online Courses: The Ultimate Guide
Many course creators get this process all wrong, either selling too hard or not “selling” hard enough. It’s a fine balance and one that isn’t always easy to find after you’ve spent weeks (maybe months) building your course.
It’s your baby. You are proud of what you’ve built and you see its value. Your job now is to make sure everyone else sees this.
The good news is, most WordPress LMS Plugins offer features that help you.
And because you host your course on your own website, it’s easier to promote other products and services as well as sharing your story, values, and purpose as a whole. The more you promote your course, the more traffic you drive to your website. This builds social proof and authority, which in turn generates greater trust and rapport.
Hosting your courses on your own website isn’t for everyone, but it’s the perfect solution for many. By now you should be getting clear on whether it’s the right solution for you. If you think it is, here are 5 of the best WordPress LMS Plugins you should consider.
5 Best WordPress LMS Plugins for Creating an Online Course
LearnDash
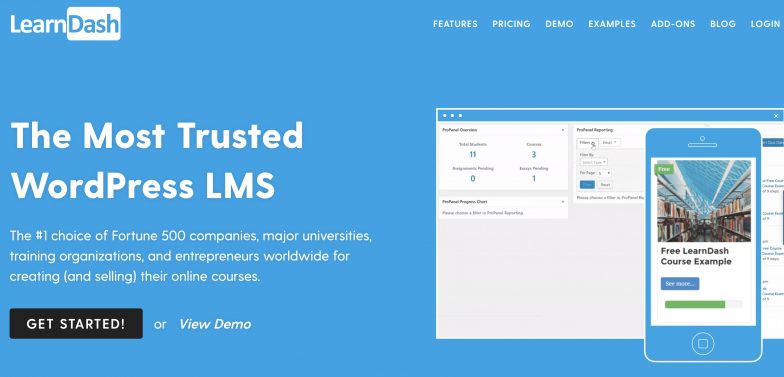
PRICE: Starts at $199 per year
STANDOUT FEATURE: Automatic triggers based on student actions
Used by many Fortune 500 companies and major universities, LearnDash is renowned for its overall speed, feature set, and impressive online course design.
It gives you everything you need to create an online course with WordPress, with more than enough features to satisfy your goals today and in the future.
LifterLMS
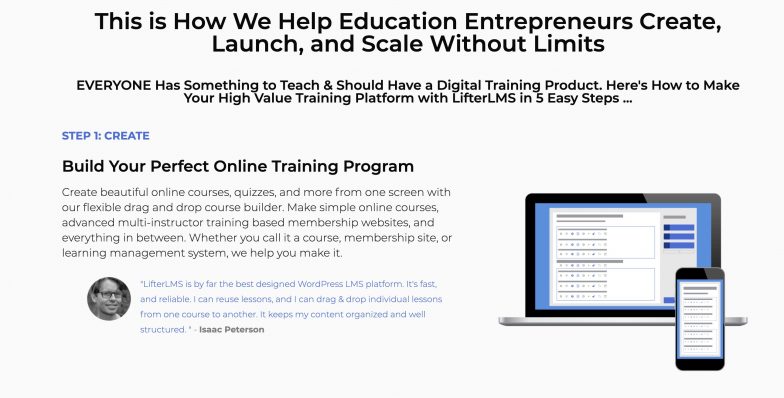
PRICE: Starts at $149 per year
STANDOUT FEATURE: Huge selections of integrations with other tools and platforms
Offering similar features to LearnDash, LifterLMS is a great alternative that provides superior service, integrations, and many add-ons so you can tailor your course around your needs.
It also integrates with drag-and-drop WordPress editors like Divi, allowing you to make beautiful pages and designs without any coding knowledge or experience.
Sensei
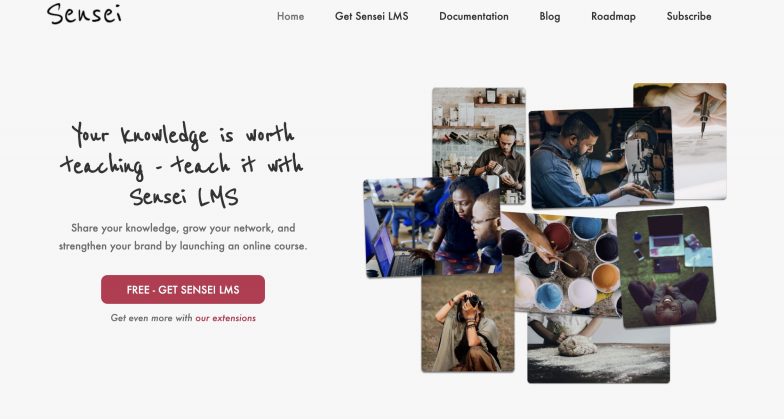
PRICE: Starts at $49 per year
STANDOUT FEATURE: Integrates perfectly with Woo Commerce and its other plugins
Different from the other WordPress LMS Plugins in this list, Sensei is an extension for the Woo Commerce ecosystem. This makes it an ideal solution for those that want to include an online course in their existing store.
WP Courseware
PRICE: Starting at $129 per year
STANDOUT FEATURE: An intuitive and easy to use visual ‘drag and drop’ designer
WP Courseware is used by some of the top universities in the world, including the University of Illinois and the University of Wisconsin Madison, and by companies such as CNN and Sheraton.
With its impressive set of features, WP Courseware gives you everything you need to build the course you desire. It’s one of the least expensive options, too, making it ideal for those just starting out.
LearnPress
PRICE: Free
STANDOUT FEATURE: A badge and points system so you can ‘gamify’ your course
Considered the cleanest and simplest WordPress LMS Plugin, LearnPress is the ideal solution for someone new to all this. Although the plugin itself is free, you’ll likely have to pay for a compatible theme. Still, compared to other options… it’s a very affordable offer.
Ready to Create an Online Course in WordPress?
Should you create an online course with WordPress? Only you can make that decision. There are other options to choose from, including third-party platforms like Thinkific and Ruzuku, and marketplaces such as Udemy and Skillshare.
We encourage you to explore those options before you make a final decision. Here are some resources you may find useful:
- The 22 Best Online Course Platforms for 2023
- 11 Online Course Examples to Inspire Your Course-Building Efforts
- The 14 Best WordPress LMS Plugins for Online Courses
- Kajabi vs. Thinkific: Which Should You Choose?
- Skillshare vs. Udemy: Which One Is Best For Your Business?
- Teachable vs. Udemy: Which One is Best for Your Online Course?
- The Ultimate Udemy Review: Is It Right for Your Online Course?
- Thinkific vs. Teachable: The Complete Course Builder’s Comparison
- Kajabi vs. Teachable: The Ultimate Side-by-Side Comparison
- Udemy vs. Udacity: Which is Best for Your Online Course?
That said, hosting your online course on your own site is the perfect solution for many. It not only helps you build greater authority and drive traffic to a platform you own, but allows you to cross-sell, up-sell, and promote other services that you offer.
We also run a FREE Hybrid Courses Bootcamp that takes you through the process of building an online course step-by-step. Whether you create an online course with WordPress or not, this training will shows you how to create, sell, and profit from your courses (even before you build them). Join The Hybrid Courses Bootcamp For FREE below.
Let’s Start Building Your Online Course!
In our FREE Hybrid Courses Bootcamp, we’ll walk you through how to transform your knowledge and expertise into a profitable online course… one your students will love.
about author
Matthew Turner
Matthew Turner is a writer/ghostwriter on a mission to help you escape the hustle — come be part of the [no hustle] movement → nohustle.co.
Read more posts by Matthew Turner